
I’m quietly unconventional, neurospicy and multi-passionate with a love for creativity and wellness… and my clients are too!
If this is your vibe, welcome to the blog!
Grab a cuppa tea and settle in.
This is not your average ‘design’ blog!
Featured Posts


This is a space where I’ll share tips, resources, experiences, stories and encouragement for designing a life and business on your own terms. Whether you gain a slight shift in perspective, a moment of validation or a helpful new tool or insight. I hope you find value in my words.
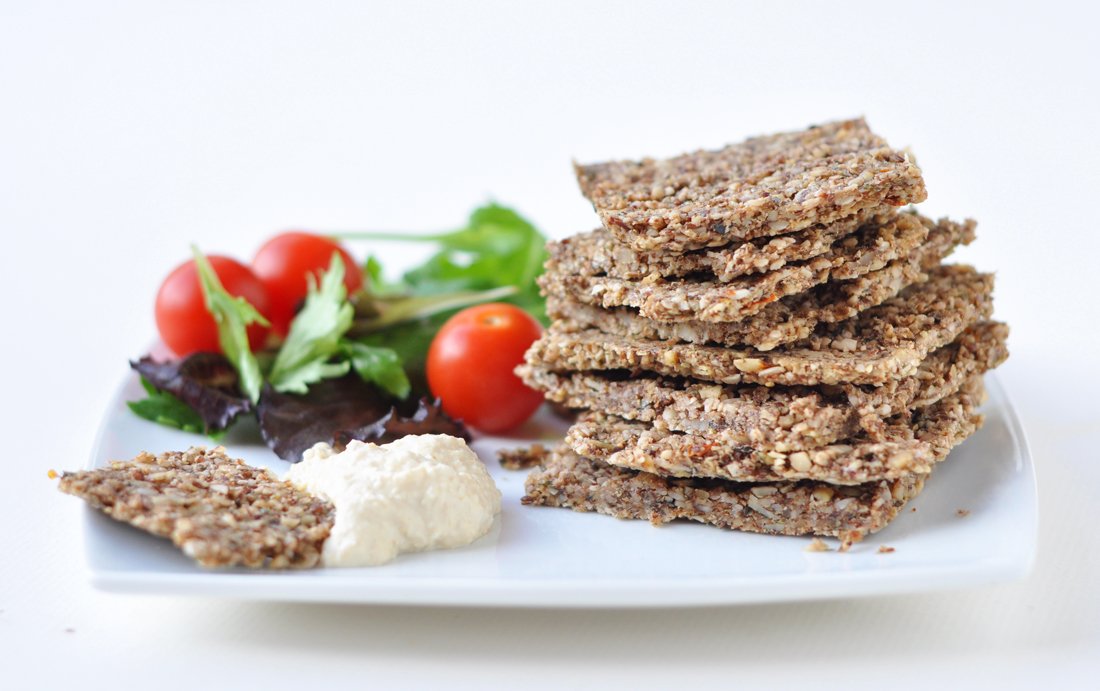
P.s I was previously a plant-based recipe developer so this is why there are still many of my favourites in the archives!
All Blog Posts


Hi, I’m Jo!
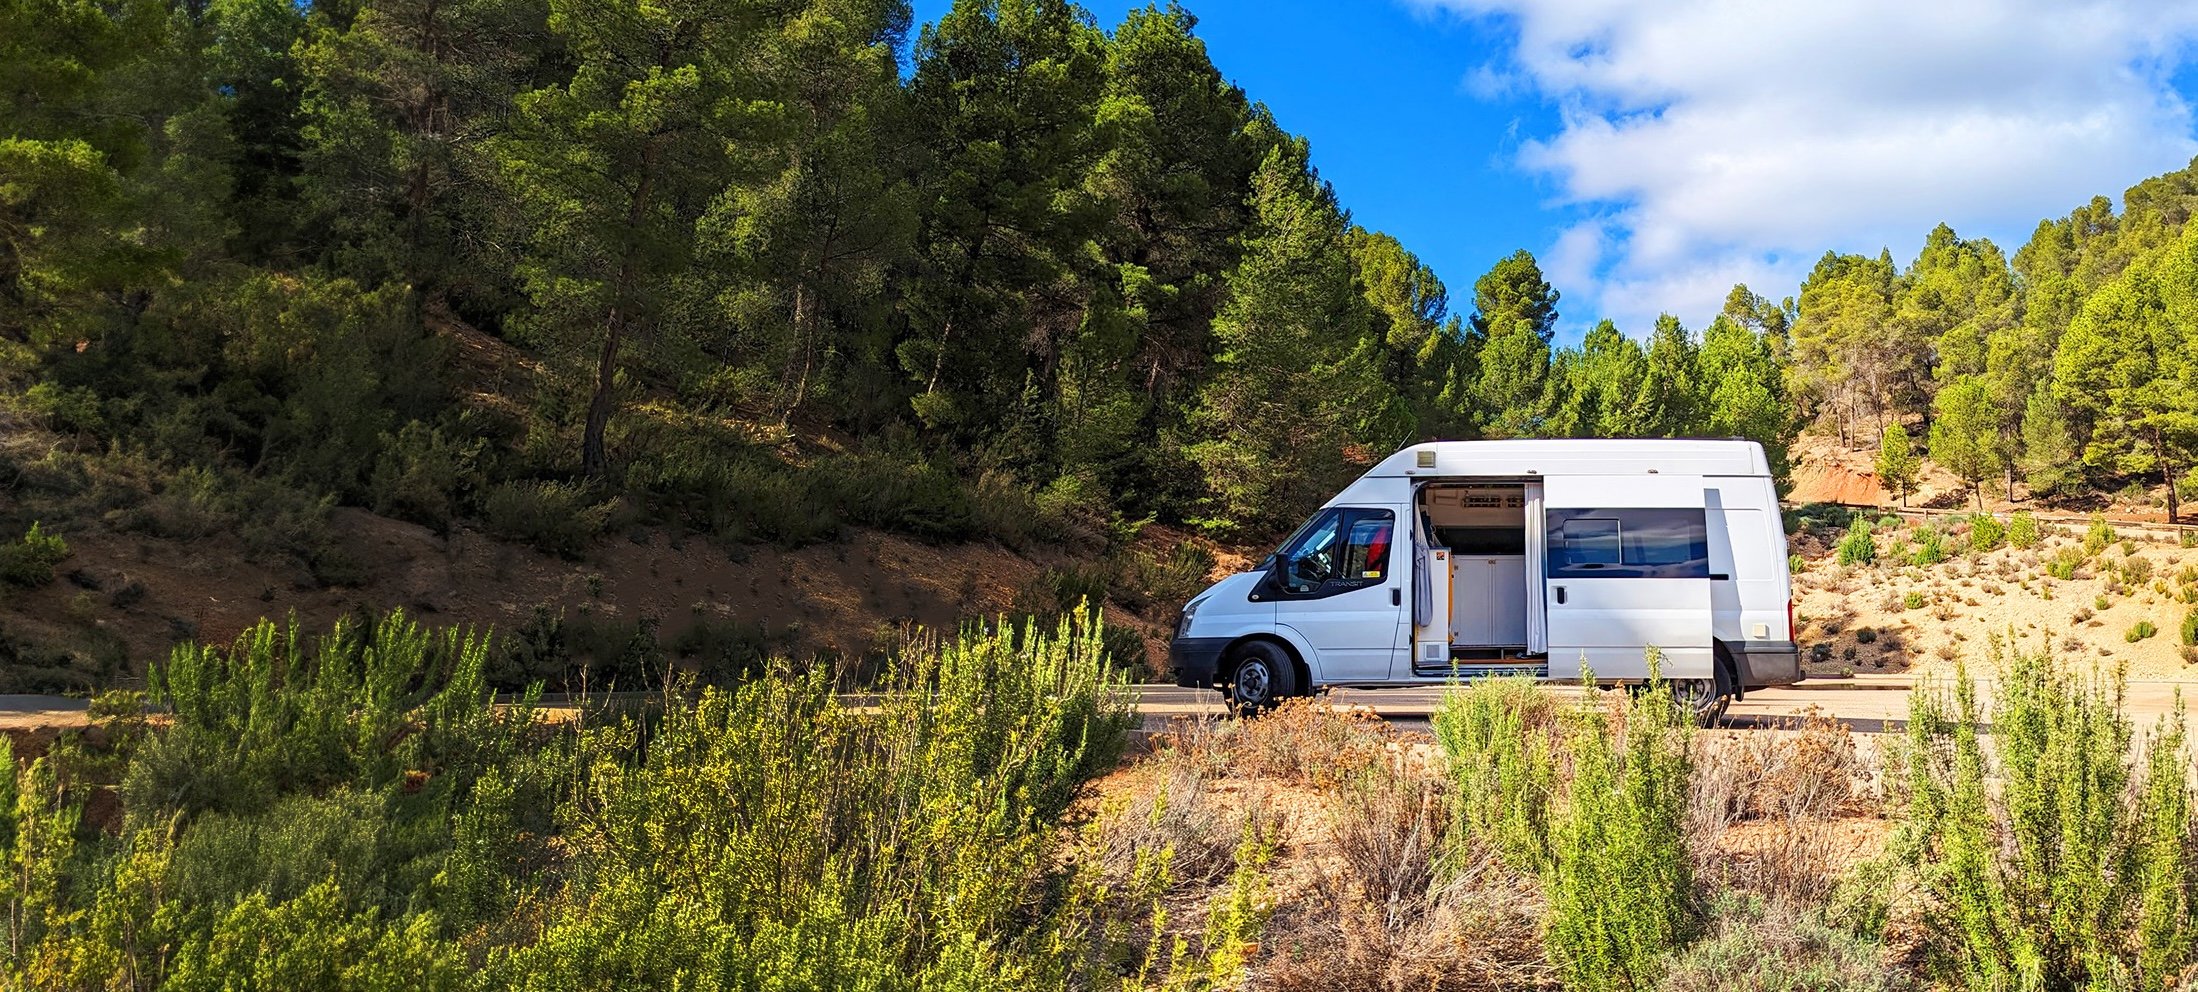
I’m an introvert and your average looking gal on the outside, but behind the scenes… multi-biz owner for over 10+ years, late-diagnosed ADHDer, currently living nomadically in my self-built Camper Van throughout the UK and Europe.
Liked what you’ve seen on the blog? Check out all the things I offer on my Everything Page.
I’ve helped dozens of wellness focussed, multi-passionate peeps step into their best unconventional life and biz, and I’d love to help you do the same!